
Best Fashion Solutions DIY Manual Wool Weave Package
This is another Best Fashion Solutions kit because, well, I’m obsessively curious about the things I see advertised on Instagram. I’ve already reviewed their Cambridge Satchel kit.
This one is their DIY Manual Wool Weave Package.
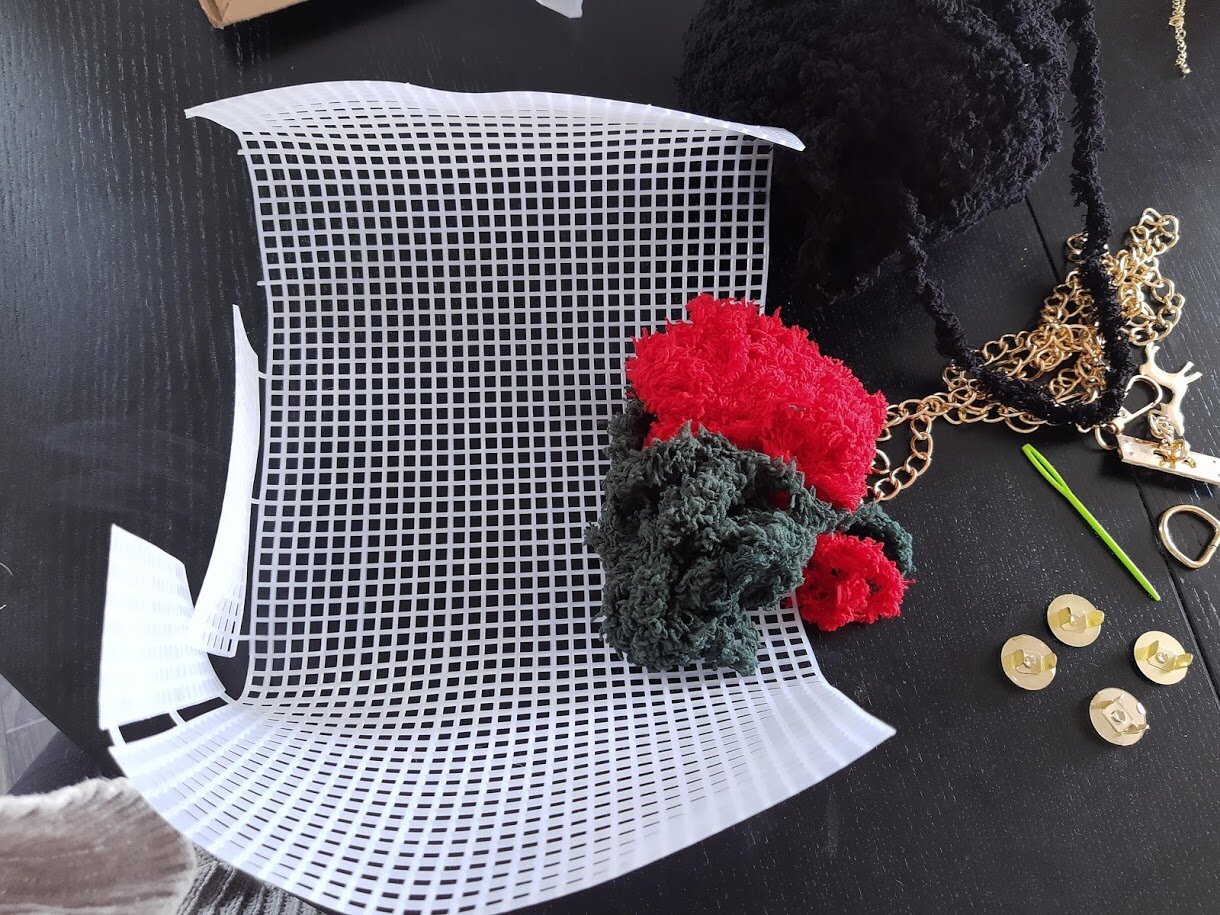
The kit comes with a precut plastic grid, black, green, and red yarn, a plastic darning needle, and hardware for the bag.
What’s missing? Instructions. Because of course. Best Fashion Solutions should really be solving the mystery of assembly. That’s the solution I want.
Much like the Cambridge Satchel, there’s also an issue with fibre content. The word wool is right there in the name. Unlike leather, I know wool and I know when something isn’t wool. I was 100% sure this wasn’t wool when I unpacked it.
Still, the lockdown boredom’s getting to me and it’s good to be sure, so I did a quick burn test.
I’ve determined that the red and green are different materials than the black, however, all of them are either acrylic or polyester. Now, this one I’m not actually super mad at. Somehow wool and yarn have become a bit interchangeable which bothers me on a whole different level, but there was nowhere on the page that labelled it 100% wool or said anything about the content of the yarn so I’m going to give them a pass on that.
Another interesting thing to note about the yarn is that it’s basically three strands of that eyelash yarn we all went mad for a few years back plied together. If you need a project for it, this would be excellent. I’m pretty sure most knitters have at least three skeins of it in their stash somewhere, and would only need to hunt down some type of closure, chain, and a grid.
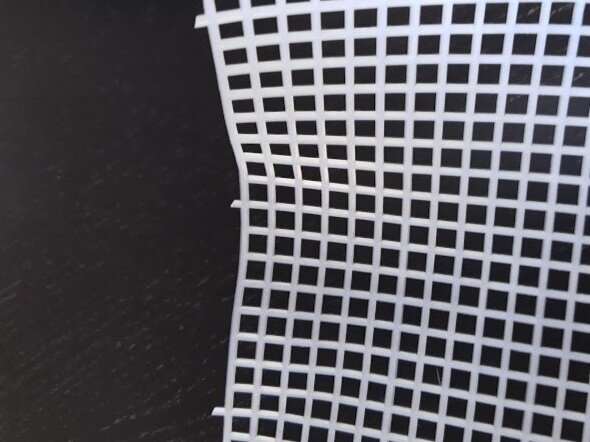
I started by separating the side panels from the main grid. This left these little nubs, that I then trimmed down. The yarn won’t cover them, so this step is important.
Then it came time to figure out how to attach the yarn to the grid.
From looking at the pictures on the website I determined that I needed to do some sort of attachment that would cover the grid completely- inside and out. I was debating doing two lines of running stitch but then decided a simple backstitch would get the job done.

After a bit of experimentation, I had two side panels!

I decided to start in the middle because I wasn’t sure how much red yarn I had.
The photos made it look kind of like there were four rows of the red in the middle, but the grid is 31 squares wide. In order to get a true centre, I’d be working with an odd number so my options were three or five. Honestly, I would have preferred the look of five, but I only had enough yarn for three, so three rows it was.

I used the hardware to compare with the pictures on the site and determined that three rows had to be right, so I added a band of green on either side, then started on the black.
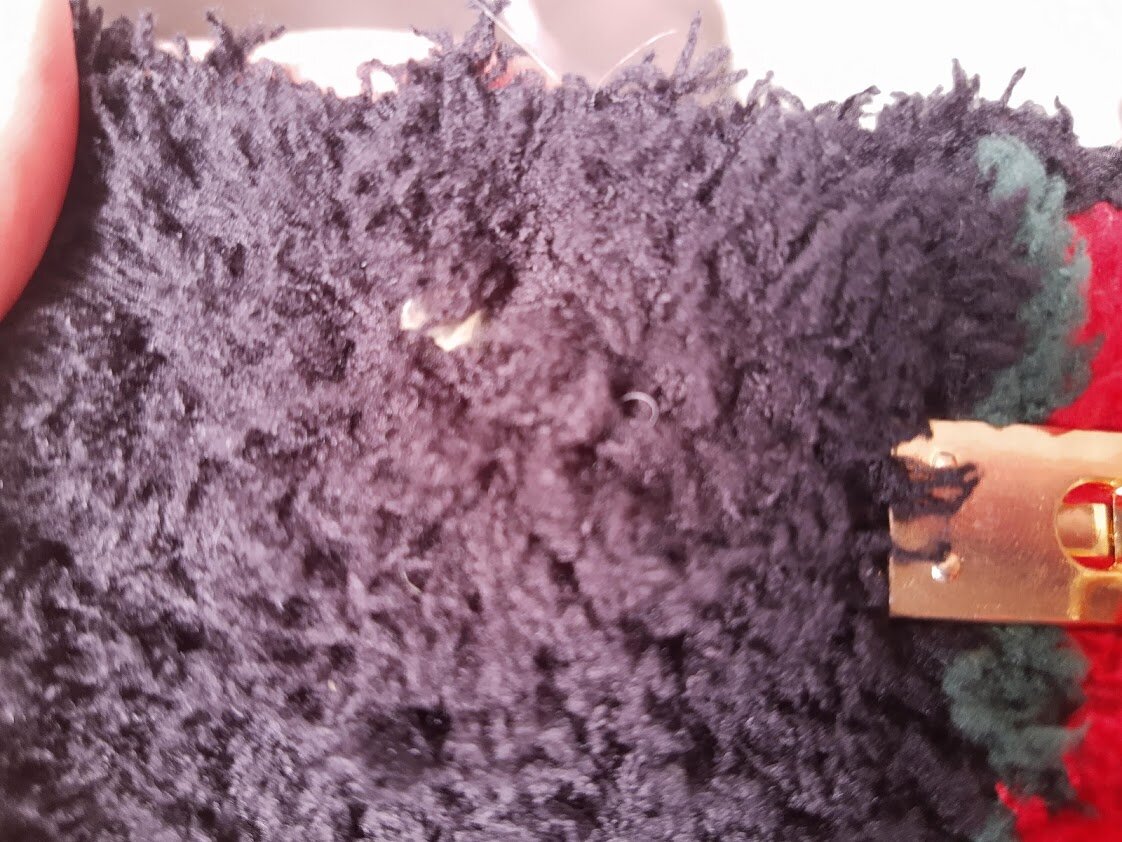
And I stitched….
and stitched….
and stitched.

I guess because the other bag only took me an afternoon I thought this would be similar. It took me almost two days.
It’s tedious work, but it did give me a lot of hand sewing practice in a really controlled way. It became very meditative and soothing. I still 100% recommend having something to watch or listen to while doing it. We know I love a TV craft.

I added the sides putting two stitches into each square- I’m pretty paranoid when it comes to bags falling apart. I decided it was easier to do both side seams, both bottom seams, and both of the other side seams instead of completing one side then the other. The seams were so much easier when I didn’t have to spend half the time manipulating the bag. I noticed the corners were pokey so I went back in and loaded them up with stitches for some cushioning.

I whip stitched the edges so they looked nice and tidy, then moved on to the hardware.
All up the hardware was simple, just manipulate the prongs out a bit, then push them back in. For the D-rings, I just sewed them on.
It was at this moment I started wondering if it would have been a better idea to put the hardware on before I started stitching, but more on that later.
The biggest issue I had with the hardware, besides my own perfectionism, was the fact that the closures showed through on the outside. I ended up just doing some basic stitches to cover it up.
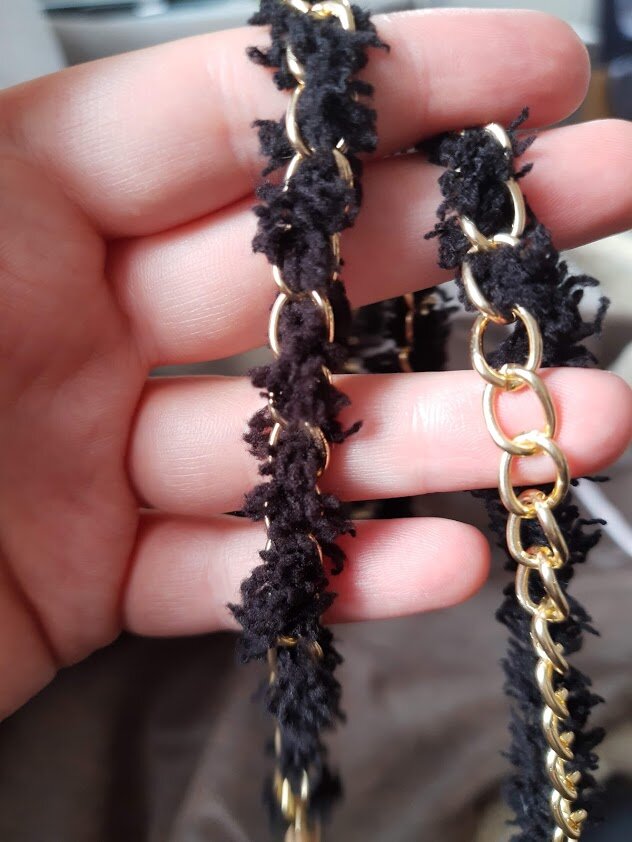
All that was left was to weave the yarn through the chain! I held it like this to keep the chain flat so it would be easier to work on. It was a bit awkward and crampy, but some hand stretches helped.
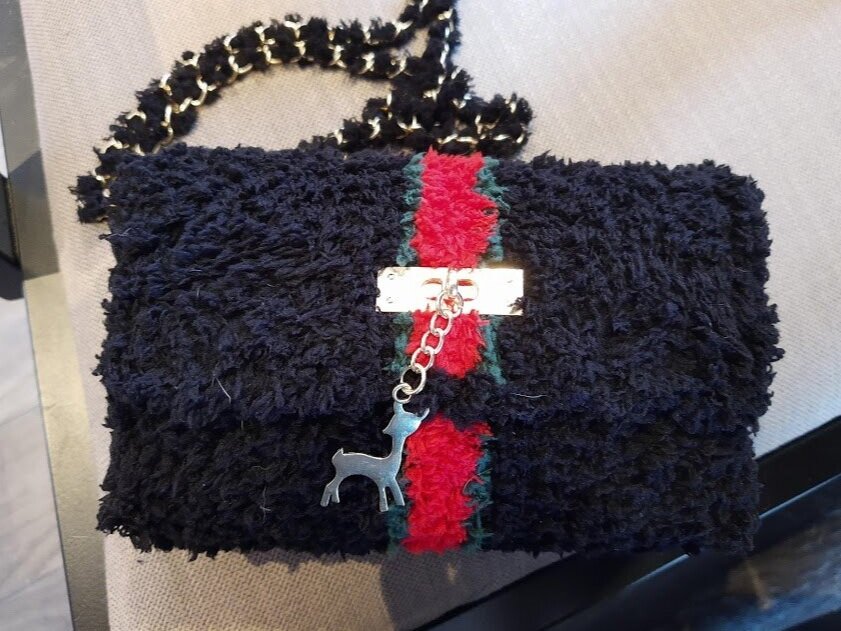
And there we have it. A bag!
While this was an easy kit, I wonder if there’s a way to make it easier.
The biggest thing I’m thinking about doing differently is attaching the hardware before I start stitching. The benefit would be that I’d have a grid there for absolutely, indisputably perfect placement. At the same time, sewing those extra stitches into the top to cover the hardware poking out wasn’t easy. I can’t imagine it would be fun to sew around the deer at the front.
Also, I’d worry about the hardware looking as plush and nestle-y into the grid.
A change I’m definitely making is working against the curl of the grid instead of with it, or putting the grid under a heavy book, maybe hanging it in the bathroom while I shower? Anything to flatten it out a bit.
I whacked myself in the face quite a bit with it when I went to get a really good look at something.
The bag itself is cute. It’s going for a kind of Gucci vibe with the colour scheme. It’s a good size. It’s a tad too short for my crossbody liking, but I’m pretty tall so that’s a common thing for me. I think I’ll end up getting quite a bit of wear out if when things open up again. It’s got enough room to fit a phone, some cash and a lip product, with a bit of room to spare. Perfect for a night out!
So, would I recommend this kit?
I like the bag, and I had fun doing it, but can I really say “yeah, it’s a good idea to get a kit without instructions”?
This one wasn’t as intuitive as the Cambridge satchel. It wasn’t just a question of, “hm, where do I start?”. It was figuring out a stitch, figuring out how to attach hardware.
But at the same time, I really like the end product, and I had fun.
Do the ends justify the means? I’m not sure.
Do I need this kit to make this bag? Again, it’s a plastic grid and three strands of eyelash yarn plied together. Tracking down the hardware would be the hardest part.
Much like the Cambridge Satchel- and buying anything from a slightly iffy Instagram or Facebook ad, it’s a question of expectation management. I don’t think Best Fashion Solutions is an artisanal company that is full of people who are passionate about bags and DIY solutions. This is, at best Dropshipping- someone who is quite into bags getting these kits from a cheap factory who does one-off shipping and selling them at a big markup. I do appreciate that DIY kits are becoming mainstream enough that they're even an option in this kind of business. It’s good for what it is, but really, what is it?
Philosophical issues aside, I think we can all agree some instructions would be nice.